Sometimes the success of a design is all in the finishing touches. Something simple like adding window treatments to your windows can really help to finish off your space. Having window treatments custom made, however, is expensive! This has motivated me more than once over the years to make my own. If you choose the right design and keep it simple, it doesn’t need to be difficult. Here’s a few quick steps to help you build your own valance DIY without sewing anything!
As I mentioned, this is not my first kick at the can with a valance DIY. Now that’s not to imply that I am spectacularly skilled at tackling such projects, but if the most complex tool involved is a staple gun, I am usually good to go.
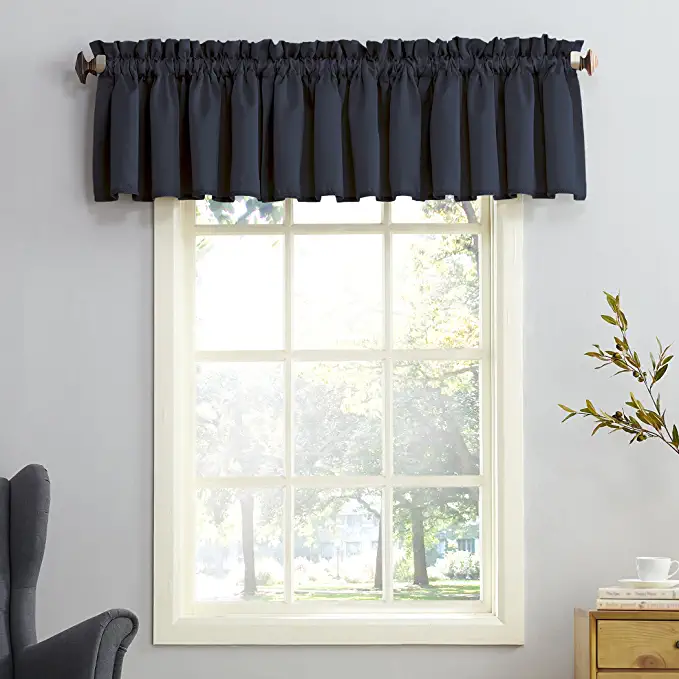
When we recently finished our main bathroom renovation, I thought this padded valance style would be the perfect detail to complete the room. It’s sleek and tailored, but also adds some softness to the decor. This valance DIY is a super easy project that really doesn’t take much time or effort.
1. Build your frame
This requires a bit of planning. The first time I tackled this project was a few years ago, while my husband was out of town. The trickiest part was actually getting the wood cut to size (thank you Home Depot) and assembled.
- How wide? Measure the width of your window to the outside of your trim. Add an extra two inches for clearance, one for either side. This will give you the dimensions of your valance face.
- How deep? I went with 3″ to keep it fairly flush to the wall. This does make things a little tricky to hang…especially for husbands with larger hands, LOL. I would recommend a depth of somewhere between 3″ to 4″.
- How long? This can depend on a few things: personal preference, ceiling height, size of the window. For most windows, somewhere between 12-15″ seems to work well. Mine is actually 12 1/2″ due to the order in which I assembled it.
2. Wrap frame with batting.
Once assembled, lay your frame out face down onto your batting. Measure and cut batting to allow for about 2″ of material to wrap around the edge of each side. Use a staple gun to secure the batting to the back of the frame. I started along the top edge, then worked my way across the bottom and did the sides last.
3. Cover with fabric.
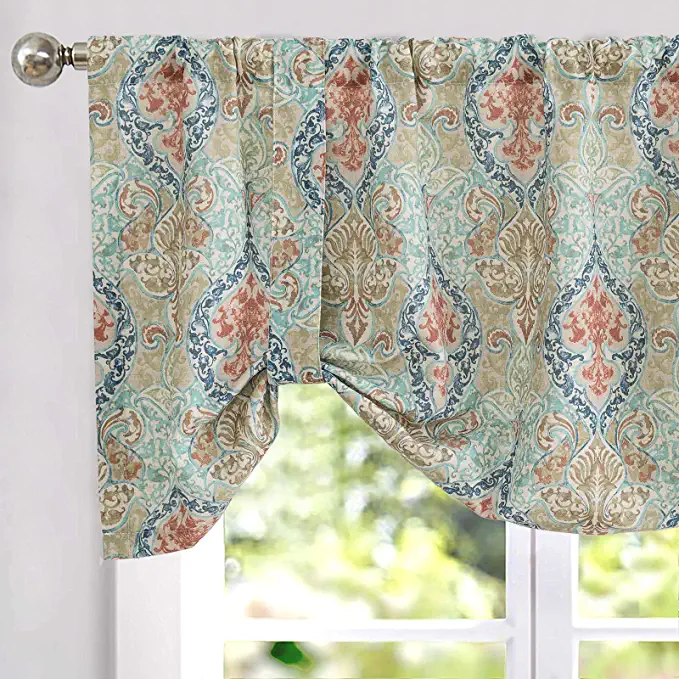
Lay your valance fabric with the good side down on a flat surface. Place your newly padded frame face down on top of the fabric and adjust its position as necessary. The first time I made this style of valance I used a solid fabric, which was a bit easier. This time however, I chose one with a pattern so it took a bit of tinkering to make sure it was centered correctly.
For this step I left about 3-4″ of extra fabric on all sides when I cut out my valance. I added strips of very thin cardboard (about 1/2″ wide from a cereal box) into the double fold of the valance material along the top and bottom. This was to prevent possible runs and snags in the fabric from the stapling. Then working again first across the top, then the bottom, the sides we stapled last. Tip: Use an iron to create a neat crease at your fold.
4. Finish back of valance.
The last step to building your valance DIY is arguably not necessary. I feel, however, that it adds a bit of a professional touch to the project. To finish the back of the valance I bought some plain white cotton fabric. This was also cut to fit, but the back side only (no wrap around). I folded and ironed the white fabric to prevent needing to sew a hem. With the folds facing into the back, I stapled this to the back of the valance to hide the rest of my handiwork.
5. Hang your valance.
- How to hang? There’s probably lots of ways to hang the valance, but I chose to go with a couple of simple L-bracket.
- How high to hang? There is some room for personal preference when deciding how high to hang your valance. I like the affect of hanging a valance slightly higher than the window. That way it also doesn’t block any of the light coming in from the window. We hung ours about 6″ above the window, allowing for about 6″ of the window to be covered.
Have you got some great DIY tips or projects to share? I love for you to share in the comments below.