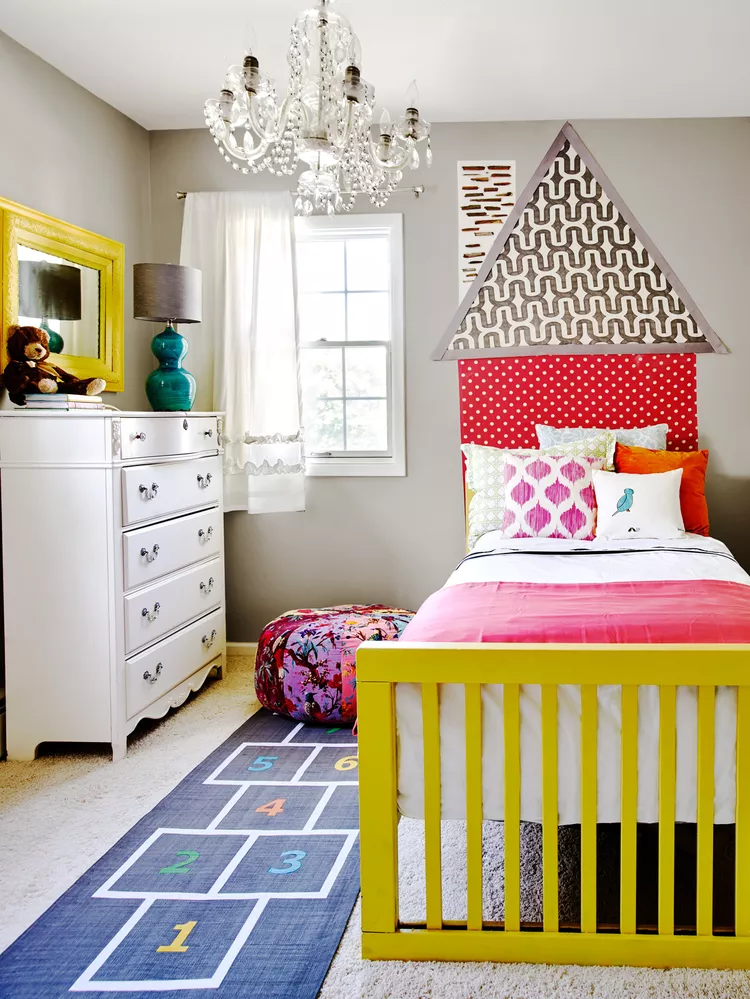
Hello fellow design lovers! Despite my best intentions, back to school this year has been CRAZY! Between work, sports, lessons, parent-teacher conferences…it’s hard to find time for anything else. My personal short term design goal for the fall was to redecorate my daughter’s bedroom. It was supposed to be a quick, easy project to update a little girl’s bedroom decor.
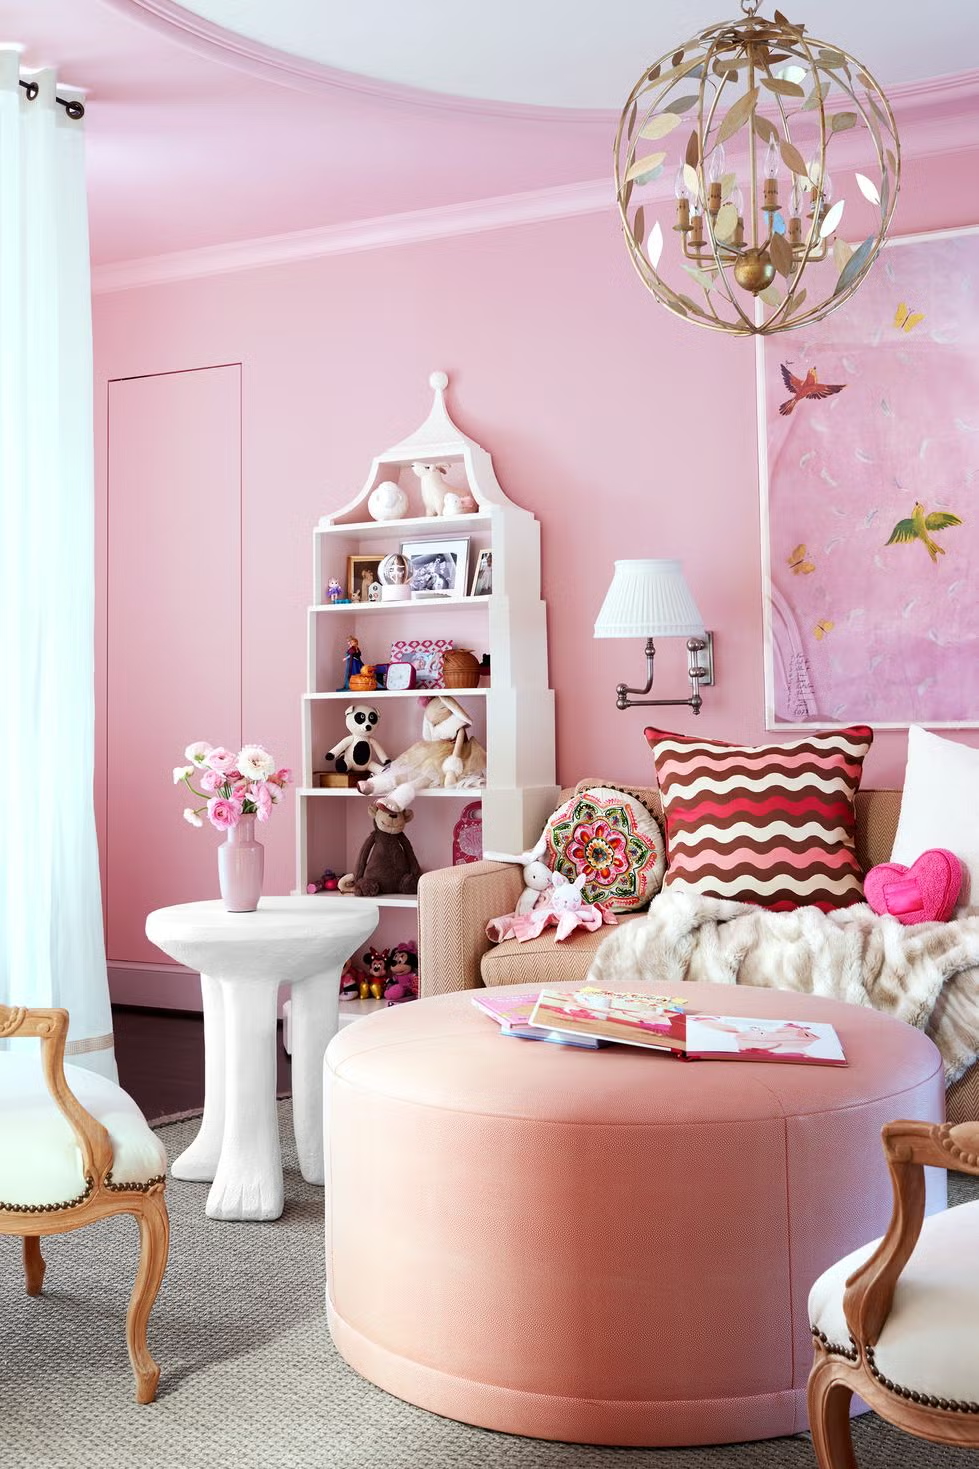
What could be more perfect? There really wasn’t that much to do…no demo, no major construction. It was also meant to be the motivational kick off to the planning of a more serious, large scale reno. But then life happens, right?
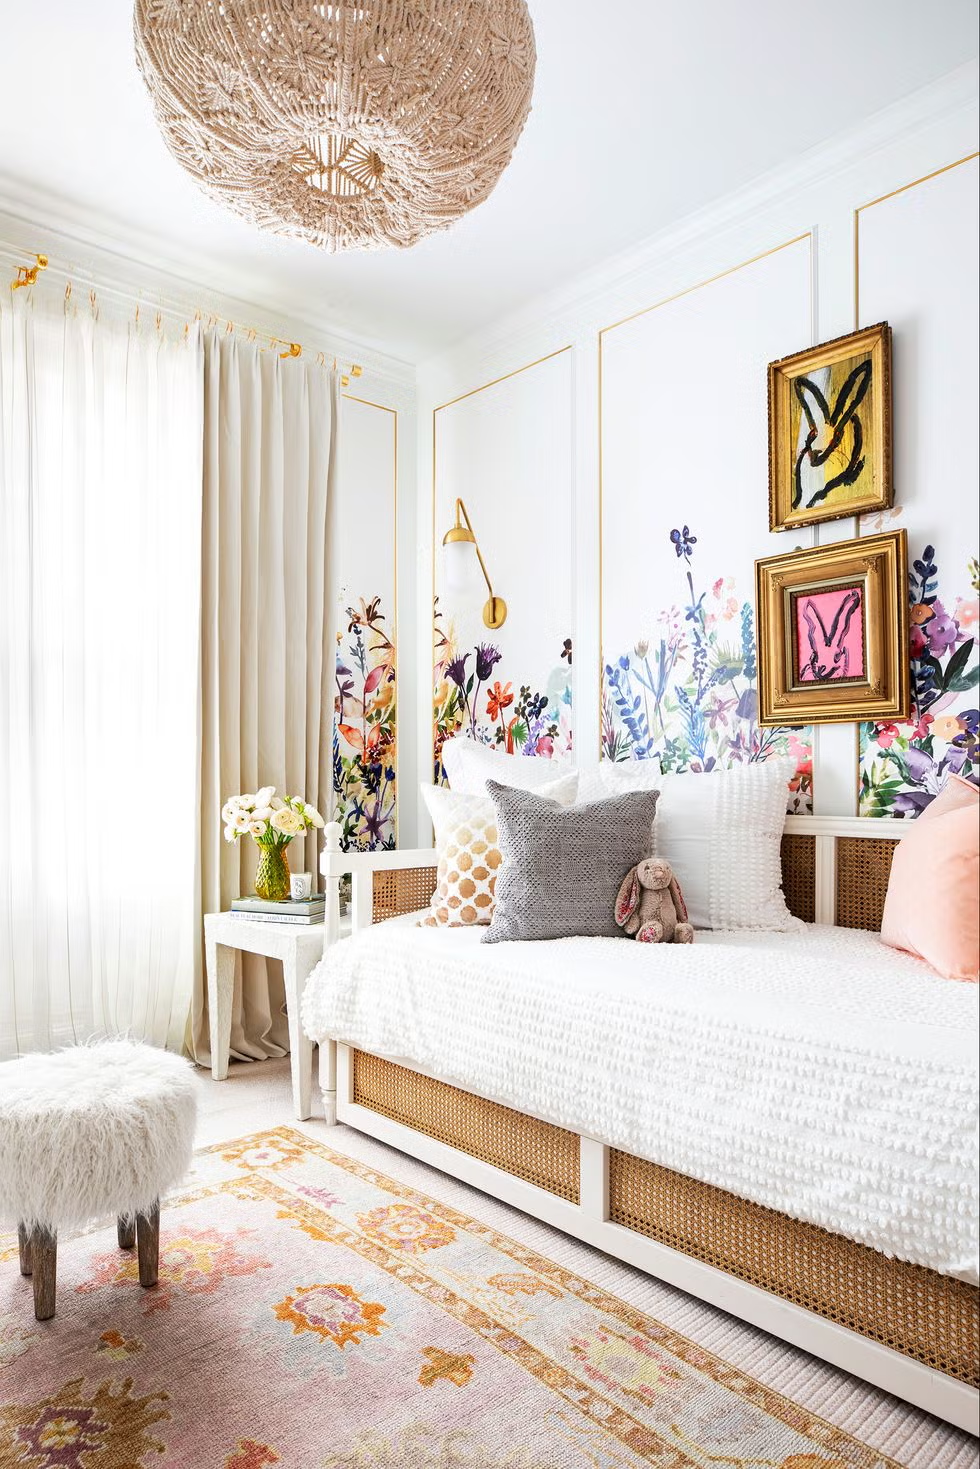
The first thing I did wrong was to try to paint her existing bedroom furniture. Now people Pinterest all sorts of beautiful, “easy” projects all the time. I figured, why not? I like to be as resourceful and re-purpose as much as the next person. Well holy smokes, what a mess! Imagine my husband, my garage, a paint sprayer and some Ikea furniture. It took us TWO days just to clean up the mess! But anyways, it’s done, it’s cleaned up and besides the furniture really does look great! I hope to have the full bedroom reveal to share soon!
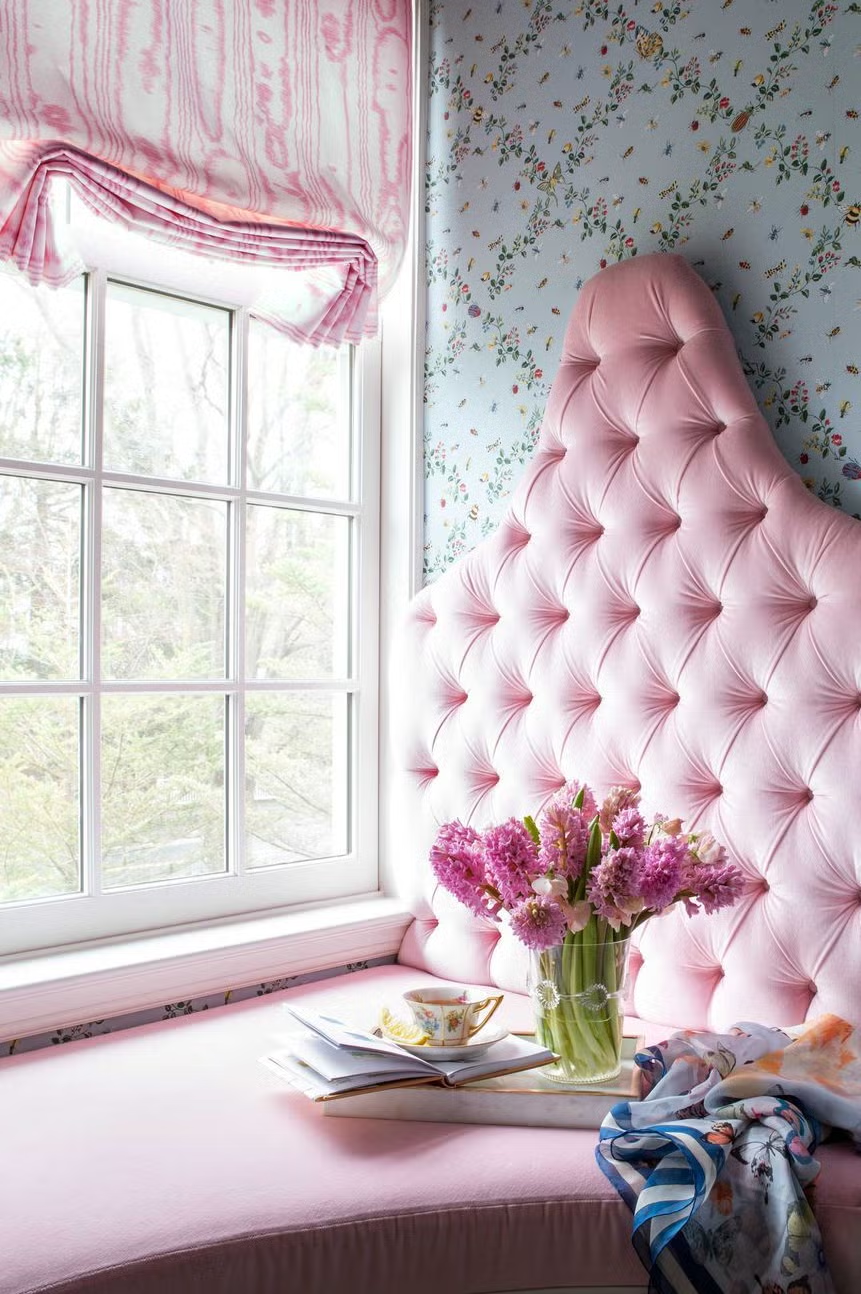
Now that the furniture is back in her bedroom, I have moved on to putting together the finishing touches to this little girls’s bedroom decor. Many trips to Home Sense later I’m getting there, but I still wanted something personalized to add into the mix as well. After the painting fiasco however, I didn’t want something too complicated or too challenging.
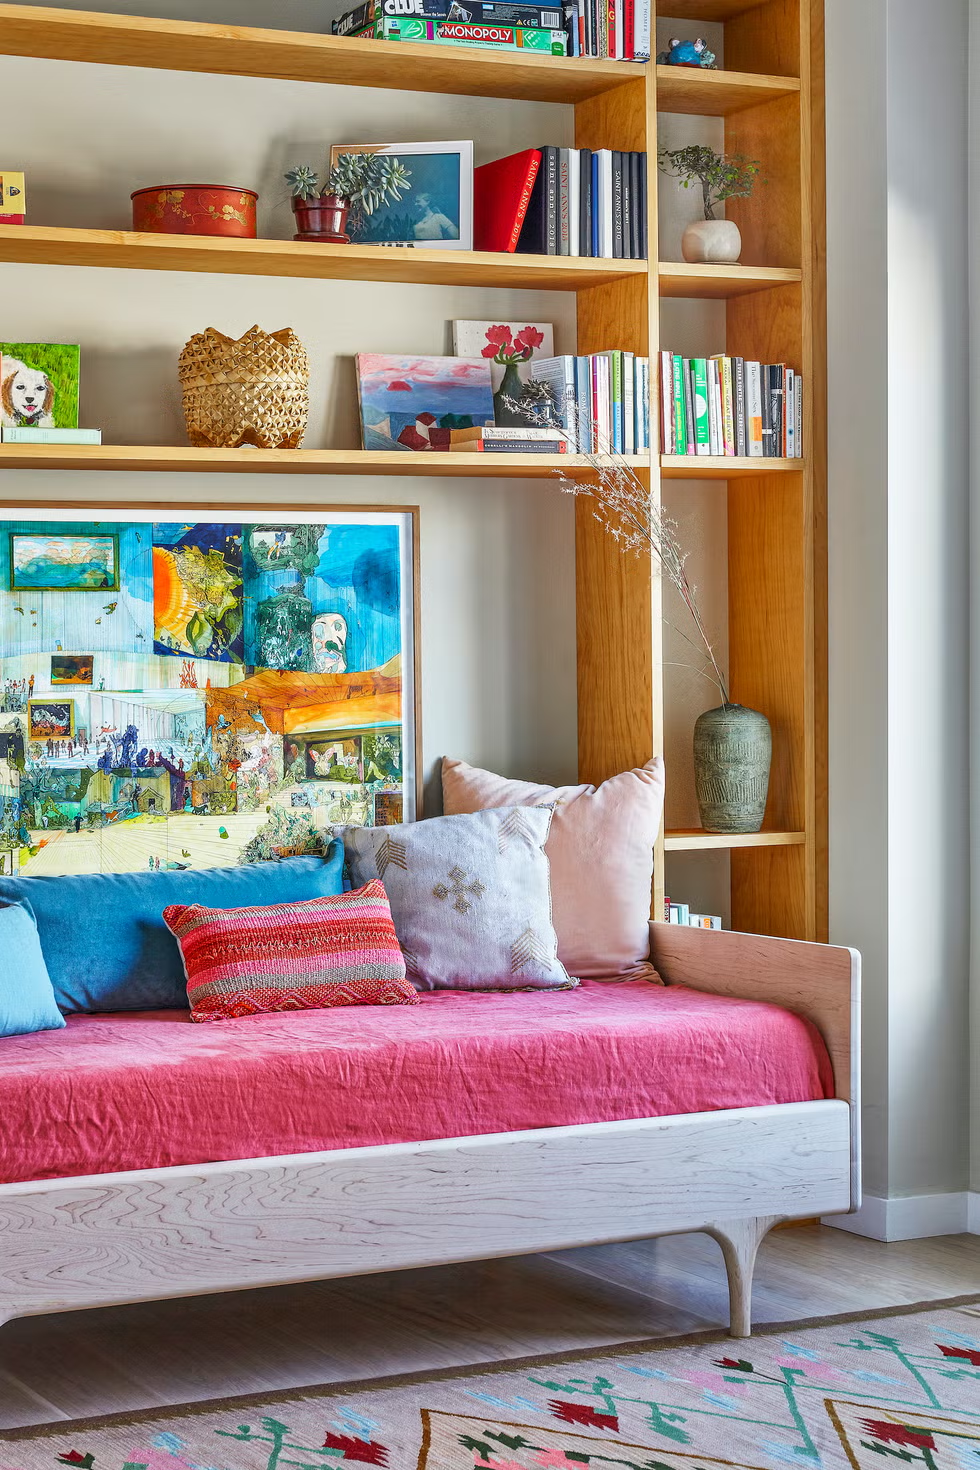
Voila! Enter the wooden letter DIY. This easy project only took me about 10 minutes and added such a cute detail to our daughter’s bedroom decor. It turned out so well, it’s already got me thinking about another project possibility in the boys’ bedroom. I will definitely leave out painting their furniture though!
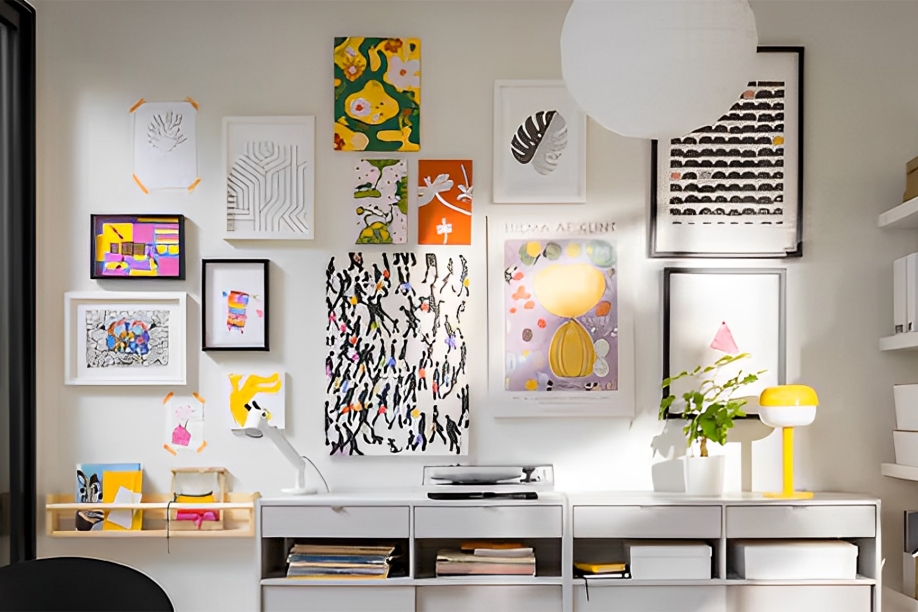
What you will need:
- pre-cut, pre-painted wooden letter (I picked mine up at Michaels)
- scrapbook paper
- spray adhesive
- a utility or exacto knife
- hot glue gun
- decorative embellishments of your choosing (flowers, butterflies, bows, ribbons…)
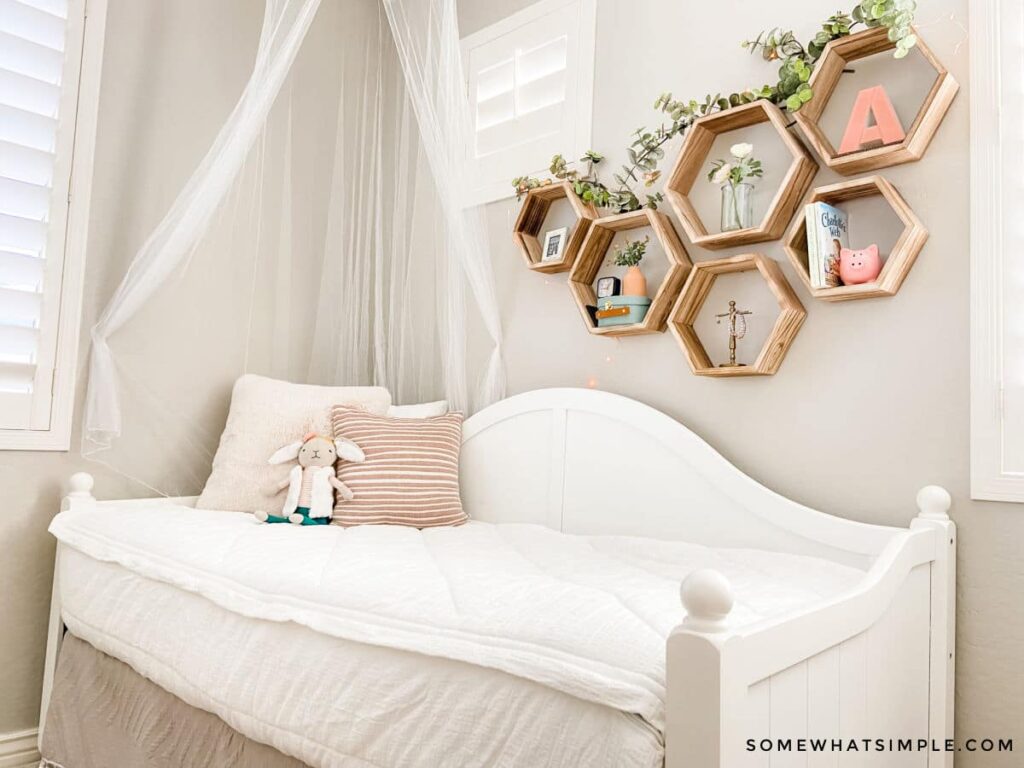
Via somewhatsimple
What you will do:
1. Hold the letter up to the paper to align in the desired position.
2. Grasp the letter and paper together tightly. Turn them upside down onto a flat surface and mark the letter’s location lightly on the paper for your reference.
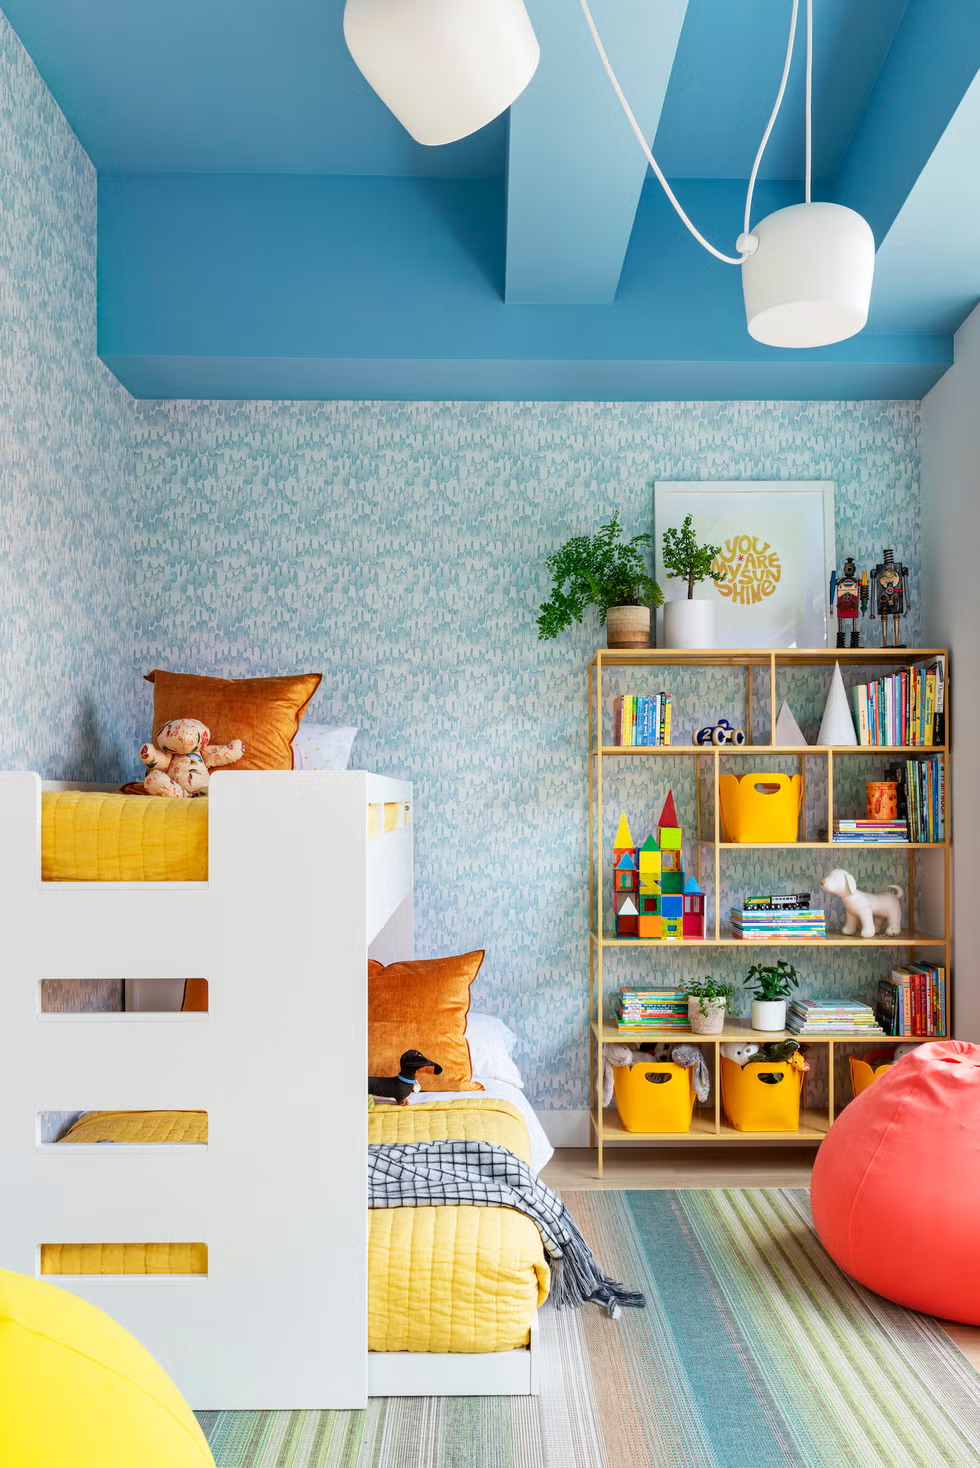
Via housebeautiful
3. Leave the paper upside down and set it to the side. Flip the letter right side up. In a well ventilated area, spray the letter evenly and quickly with the spray adhesive.
4. Turn the wooden letter over and position face-down onto the back of the paper in your previously marked location. You will only get one chance at this so work quickly but carefully.
5. Press the letter firmly onto the paper and hold for about one minute.
6. Place a safe cutting surface under the paper and the letter. Next use the exacto knife to very carefully cut/trace along to edge of the letter, cutting the paper at the same time.
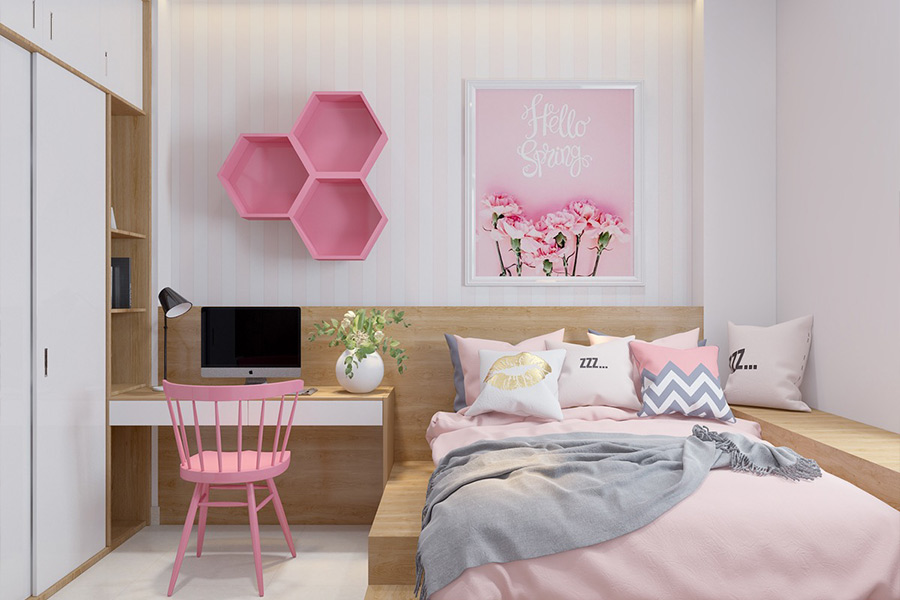
7. One you’re done, flip the letter over and trim any edges that might need it.
8. While your glue gun is heating, decide on the position of your embellishments.
9. Secure them in place with a drop or two of glue.
That’s it! I couldn’t believe how easy it was. I think it turned out great and looks super cute in my daughter’s room. Plus the best part was, it earned me a big hug and an “I love it mommy!” The things I wouldn’t do for that!!
Leave me a comment below and let me know what easy DIYs you’ve been working on. I’d love to check them out.
For more design inspirations, follow me on Pinterest!