This week was a busy one! Between repeat trips to the tile supplier and running kids back and forth to the hockey rink, there wasn’t time for much else in between. Thankfully, we are slowly narrowing in on our next set of tile selections needed for our ensuite. As an added bonus, I can finally see the light at the end of the hockey season tunnel!! After all was said and done though, there was just barely enough time this weekend to tackle our rustic bench DIY project on our only free afternoon. The bench was one of the final details that we were trying to get finished for our main bathroom renovation.
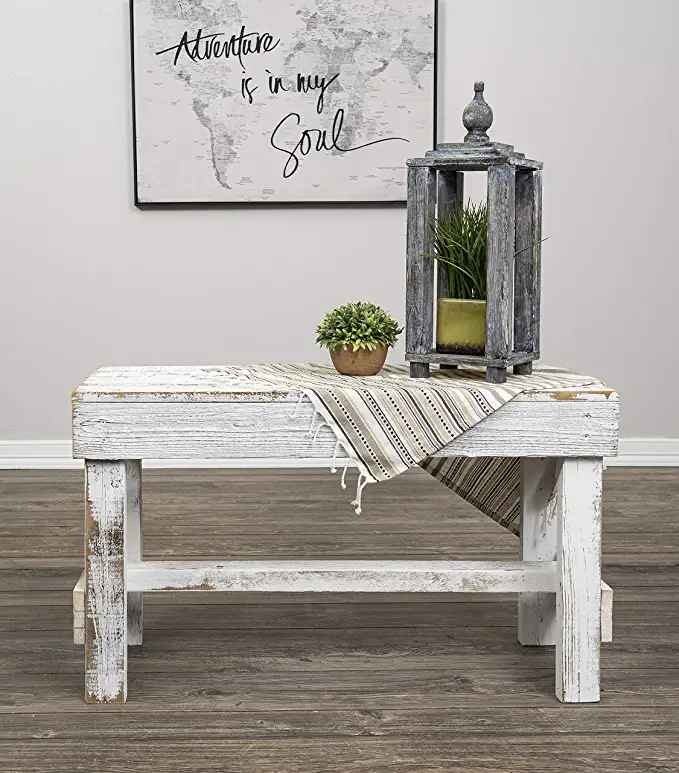
Del Hutson Designs Natural Reclaimed Barnwood Rustic Via Amazon
Part of our original reno plan was to replace the old wire shelving in our main bathroom with a bench and some more sensible storage. The niche that was put in by the builder had served its purpose, but had always been a bit of an irritating eyesore. As the kids are getting a little older, we wanted to redesign the bathroom to include a seating area as a cozy, more relaxed part of the space. Keeping in mind our desire to add a touch of rustic detail, we decided to use a piece of live-edge wood to create our lovely new bench.
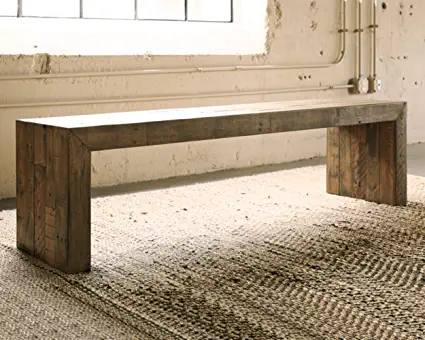
Signature Design by Ashley Sommerford Rustic Via Amazon
I don’t know if you have ever shopped live-edge wood, but I just can’t get enough. It is so beautiful, each piece is refreshingly unique! Our local small hardware store keeps such an amazing selection of live-edge pieces, I feel like a kid in a candy store whenever we visit. I am a firm believer that less is more, but I love to wander the store and imagine how I could try to work more into my space.
Although we had numerous types of wood varieties to choose from, in the end we went with a piece of Mappa Burl. We chose this type wood partially because of the size available, but also because of the character of the piece itself. I just couldn’t bear the thought of buying something larger that would leave cuttings going to waste.
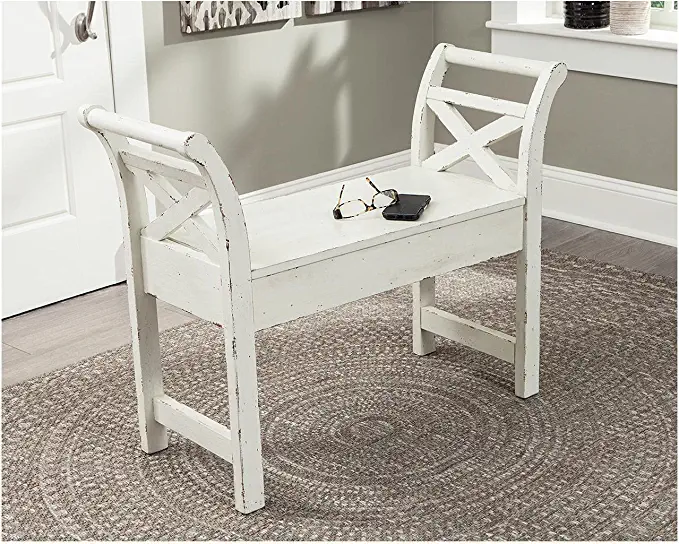
Ashley Heron Ridge Distressed Accent Bench Via Amazon
The rest of the project was pretty simple. A bit of sanding to soften the wood’s edges, a couple coats of oil to seal the surface and bring the wood to life and we were good to go.
From there all that was left to do was attach the legs…which coincidently we also got ready to go from the hardware store. And voila! A beautiful rustic bench for our bathroom.
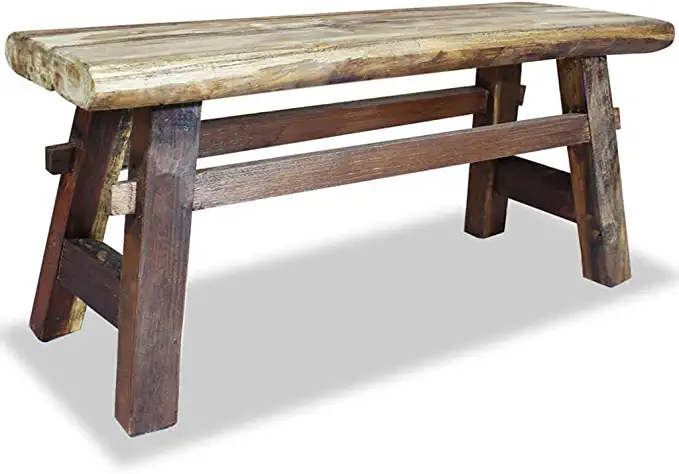
Bench Solid Reclaimed Wood Via Amazon
Now we may, as the days go on, fuss a little bit with the final colour. It currently has quite a natural golden undertone. I like its current colour, but it’s good to know that we can still tweak it if necessary. We can still apparently add a slightly different colour of oil to the surface to play up the grey tones if we prefer. If you are considering a project like this for your space, it’s a good idea to check out the different shades of wood tint available.
Here is an overview of our quick and easy steps to create your own Rustic Bench DIY:
- Visit your local hardware store to select the perfect live-edge wood piece for your space.
- Have the wood cut to size to suit your project. This is a service that should be provided by the store and will save you considerable time and effort at home.
- Sand the slab of wood on all sides, focusing on the top and visible sides.
- Repeat the sanding with increasing fine sandpaper to get the perfect smooth finish. We finished ours off with 400 grit sandpaper.
- With a clean rag, apply a thin coat of oil to the wood surface. We used a simple tung oil for a low lustre finish.
- Work the oil into the surface evenly. Follow all product instructions carefully.
- Allow a few hours to dry and repeat as necessary until you achieve the desired sheen.
- Once dry, mark the location of the leg lag bolts on the underneath side of the bench.
- Drill pilot holes for the lag bolts. Make sure to check that you have the right depth of lag bolt before you do the installation. You don’t want to pierce the surface of your bench.
- Install the bench’s legs as marked.
- Place your new rustic bench, right side up, in its new home.
I hope you found this post helpful! I would love to hear about some of your DIY projects, please drop me a note in the comments below. Check out another of our DIYs on beadboard installation.
For more design inspiration, follow me on Pinterest!
LET’S STAY CONNECTED I agree to have my personal information transfered to MailChimp ( more information ) Never miss another post! Subscribe to receive new posts and design advice straight to your in-box. Your email address will not be sold or shared with anyone else.