Do you have a hallway or maybe a bathroom that needs a little love? Are you planning a renovation? Is there a part of your house that needs a little bit of something that you just can’t quite put your finger on? Maybe you’ve been looking for a while to find a way to finally put your mark on your space. I mean, who doesn’t love a quick DIY project that can deliver great results? Adding a bit of trim or beadboard paneling is certainly an easy, inexpensive way to add a bit of extra character to your home.
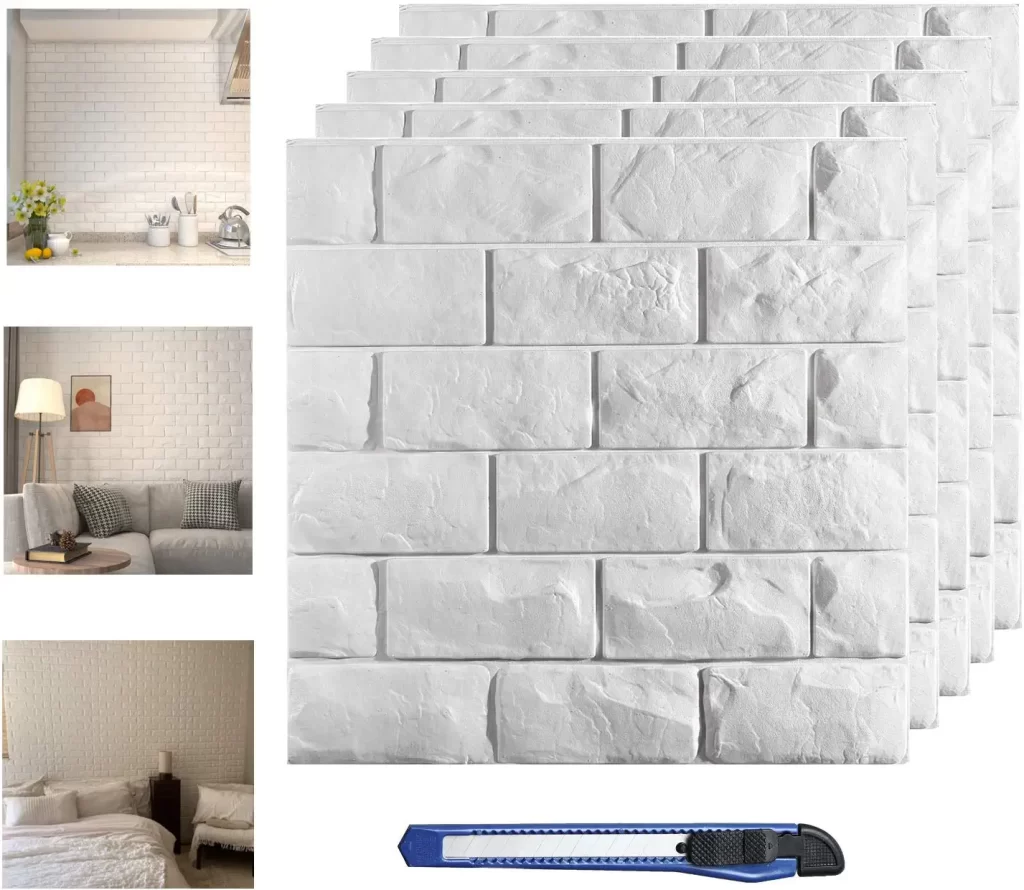
We’ve been sort of on a moulding kick ourselves lately. I am actually having to hold my hubbie back from installing it in every room of the house. Okay, I’m exaggerating…but only slightly! That being said, when our renovation planning first began we knew we definitely wanted to install some beadboard paneling somewhere. It was just a matter of deciding where. Seeing as we were planning to kick off our renovation adventures with our main bathroom, it seemed like a great place to try our hand at beadboarding.
To be honest, I don’t know how much I agree with the “easy” part in this DIY project, haha. It wasn’t really that it was that difficult, it’s just that things always end up being more work then you bargain for. What you think will take you a day at most, turns into two days…or more. Especially if you count the painting, the caulking and all the finishing touches.
The overall cost of the project was definitely decent. We spent somewhere about $300 for all the supplies to finish the beadboarding in our bathroom. It’s hard to gauge the total cost exactly for this project, it may have even been less. We had a fair bit of trim and supplies left over that we have saved for the next phase of out renovation…the ensuite.
The process of actually installing the beadboard paneling was relatively straightforward. Figuring out the correct angles at the corners for the trim however, was definitely a bit trickier. Once we worked out the inside vs outside corners for cutting the trim, it was pretty smooth sailing. I do have to say that using flat stock trim makes things a whole lot easier than trim with a detailed profile. It also allowed for a lot less material waste.
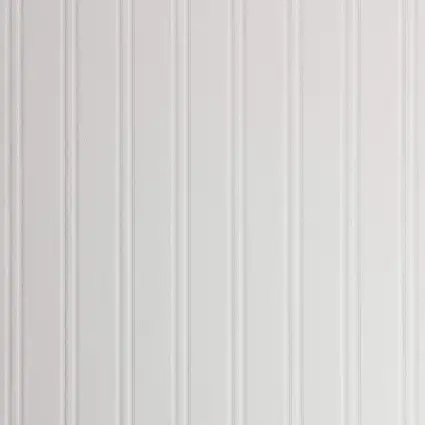
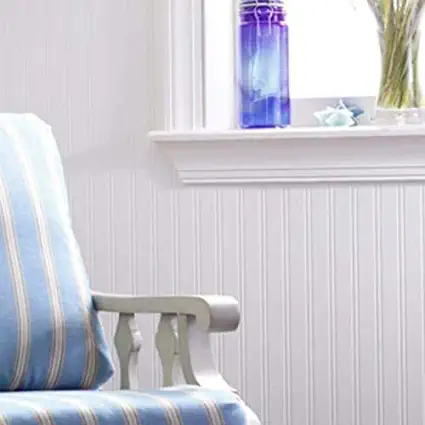
When we went out to buy our paneling materials, we struggled to find a combination that we really liked. In the end, we devised our own recipe to create our beadboard profile. It requires layering 5 separate pieces together in 5 easy steps to a finished height of 40 1/2″. Each one was individually cut and attached to the wall as we went along. We basically started from the bottom and worked our way up all around the room.
Our beadboard profile includes:
Step 1 – 1/2″ x 5″ baseboard
Step 2 – 32″ beadboard panel (one 8′ bead boarding sheet cut into 3 equal vertical pieces)
Step 3 – 5/8″ x 3″ casing
Step 4 – 1/2″ corner round (to cover any possible imperfections or unevenness)
Step 5 – 1/4″ x 1″ mdf cap (these were cut from a full sheet into 1″ strips)
Beadboard finished height is 40 1/2″
The only given element in this project was the beadboard paneling itself. The tricky part was actually deciding how to mount it, how to frame it in. In the end I’m glad we didn’t go with the pre-made top caps we saw in the store. They were all just a bit too ornate for our liking. This way took more time to build up our profile, but in the end we really like the result.
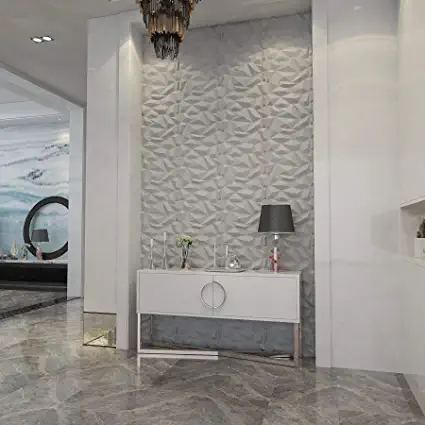
By the time all this was finally said and done, I thought for sure I wouldn’t want to see beadboard paneling for a while. But even though only a few weeks have passed, we are already looking ahead to the next project. The endless paneling possibilities are creeping their way back in again. We are definitely still considering adding a touch of paneling or wainscoting in other areas. Maybe for our dining room or powder room…stay tuned as only time will tell!
If you have tried your hand at some beadboard paneling DIY adventures, drop me a comment below and let me know how it went!
Fore more decorating inspiration, follow me on Pinterest!
LET’S STAY CONNECTED I agree to have my personal information transfered to MailChimp ( more information ) Never miss another post! Subscribe to receive new posts and design advice straight to your in-box. Your email address will not be sold or shared with anyone else.